Tuesday 19 February 2013

Don't try this at home kids

Well phase one of the chimney capping off didn't go quite as planned; in that every time it rained and the wind was blowing from the north, rain came down the chimney. I originally got up to the chimney by cutting a hole in the barn roof and poking ladders up from there. Having repaired the roof this was now not an option. So a different and I suspect unconventional approach was called for. Inspired by the Gibson flying V guitar (not really) I constructed a V base for one of my ladders so it would sit on the ridge of the roof. This is a bolted oak construction re-enforced with steel box section screwed to the oak and clamped to the ladder with exhaust clamps. It truly is a Heath Robinson construction but having jumped up and down on it for a while I determined it would be safe, if a little unconventional. Next the issue of getting up to the barn roof. Last time I did this my neighbour lent me his long ladders, but since he had another use for them I had to construct staging with my alu scaffolding to make my ladders reach. Anyway it was all roped and screwed and wedged so as safe as I could make it. Have a look:


You can see the scaffolding and ladder construct


This really is how steep the roof is!


The chimney capping in place, hopefully with a good run off this time


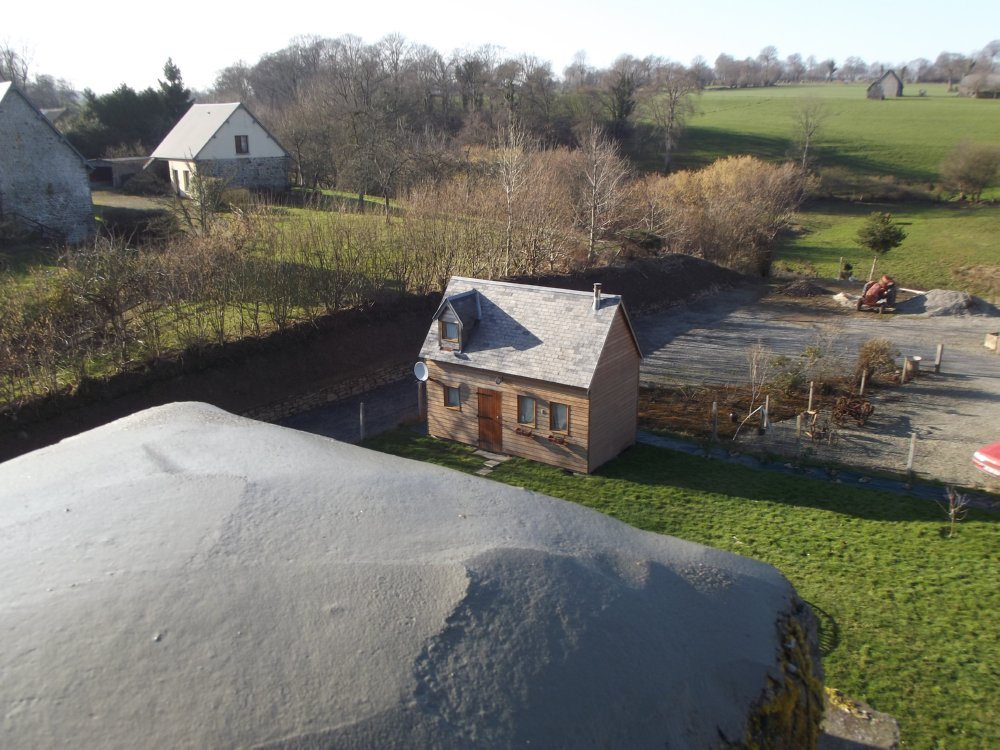
A view of chez Alison from the roof


Low angle ridge shot


And another


My able assistant without whom this would have been a whole lot more difficult


Doesn't the shed look small


The garden


And getting arty


Finally the chimney covered in layers of the stuff you put on plants to stop them freezing while the mortar goes off.

I should say at this point I did use a frost inhibitor when I mixed the mortar and used cement not lime to try and get the quickest set time given the time of year. Tomorrow I will go inspect the damage.

P.S. As a note: As I get vertigo and generally hate heights of any description this is not something I would do out of choice. I did go as far as getting a man to come and quote for the job. He took one look at the chimney and never came back with a quote! So needs must. I have to say each time you go up it does get a little easier as long as you don't look down!!! The other thing in this case which makes it doubly scary is that I've made my own ladder support to sit on the ridge of the barn. You have to be really really sure it's safe because you're life does depend on it. It's one of those "shit or bust" kind of scenarios!

P.P.S Looking back, in the UK, I would never have even entertained going up on the roof let alone the chimney. I guess after 3 years in France a bit of the "Frontier Mentality" has worn off on me..

Monday 18 February 2013

The Naked Esse

Just a quick taster of things to come; the stripped down esse 700 in place on the hearth. When I have more time I will do a full "How to convert your boiler version esse 700 to a standard stove" super blog post. But for now here is the stove chassis in place:
Fortunately the bare chassis of the esse 700 is not that heavy and can easily be lifted into position by two people, but ONLY after taking of all the bits. This includes: doors, side panels, top cover, boiler, grate and cast liner panels. Top tip, whilst is takes 30 minutes to strip the esse 700 down carefully, this time is well spent. Just think of the 2 months in traction if you try to lift it complete!!

Oh yes and for the past two days the sun has been shining.

Sunday 10 February 2013

Endurance

Its all about sticking at it! It's done nothing but rain for 6 months, its cold and its dark. This is now the third winter "renovating" and its taking its toll. The ground is water logged and we are bogged down in the soft mud of Normandy. But there has been progress.....

Slabs bought for the hearth


Sub structure laid to support the granite slabs


The esse 700


The esse Ironheart in action is a fine thing


Monday 4 February 2013

Tipping point

It feels like one anyway. Today you can walk upstairs without the use of a ladder and it feels good. Today I finished the landing at the bottom of the stairs and the landing at the top, thus joining the two halves of the house together. Julia has been painting the ceiling in the kitchen and scraping the paint off the beams and I have to say it looks fab. Here are a few tasters:


Look you can walk down them: almost like a real house.

The lower landing or "pulpit" as I like to call it.


And the landing at the top. 


A small addition to hide the cross brace.  The stairs are not screwed together on the side you see, so I've put a 12mm threaded bar through the stringers to hold everything together.


Making the staircase; I had cause to dig out my dads old bull-nose plane. I've had this since my dad died over   20 years ago and in honesty never really used it in anger. My dad didn't really do woodwork in that he relied on my uncle Jeff who had his own joinery business. He had a few tools but not many...plane..saw etc. Then he decided to fit double glazed panels to the existing window frames in our house in Ipstones. For that you need to re-bate and for that you need a bull-nose plane. Well fitting the flooring to the landings using the T&G oak flooring is fine but in our damp cold house the flooring has swelled, meaning the T&G boards are very tight. The perfect tool is my old dads bull-nose plane. Just right to "ease" the tongue so the boards fit together nice. I did of course sharpen the blade to "within an inch of it life" and having done that it has been a god-send. The flooring, which is French production oak, I have to say is beautiful. When the floor is down in the salon it will look amazing! 

When this house was built in 1712, the guys who built it spent an awful lot of time and care making the house the best they could........hopefully we are doing the same!