Step one
Remove the left hand outer side plate by first removing the two M6 set screws at the bottom edges using a 10mm socket. Having removed the two screws the plate will slid up and then off. Mine was quite a tight fit at the bottom so be patient.
Step two
This will then reveal the inner side plate and boiler tappings.

The inner side plate is held onto the stove frame with 9 m6 set screws and the boiler itself is held to the side plate using one 12mm nut. In addition to this the tapping's a sealed around the plate using fire cement.
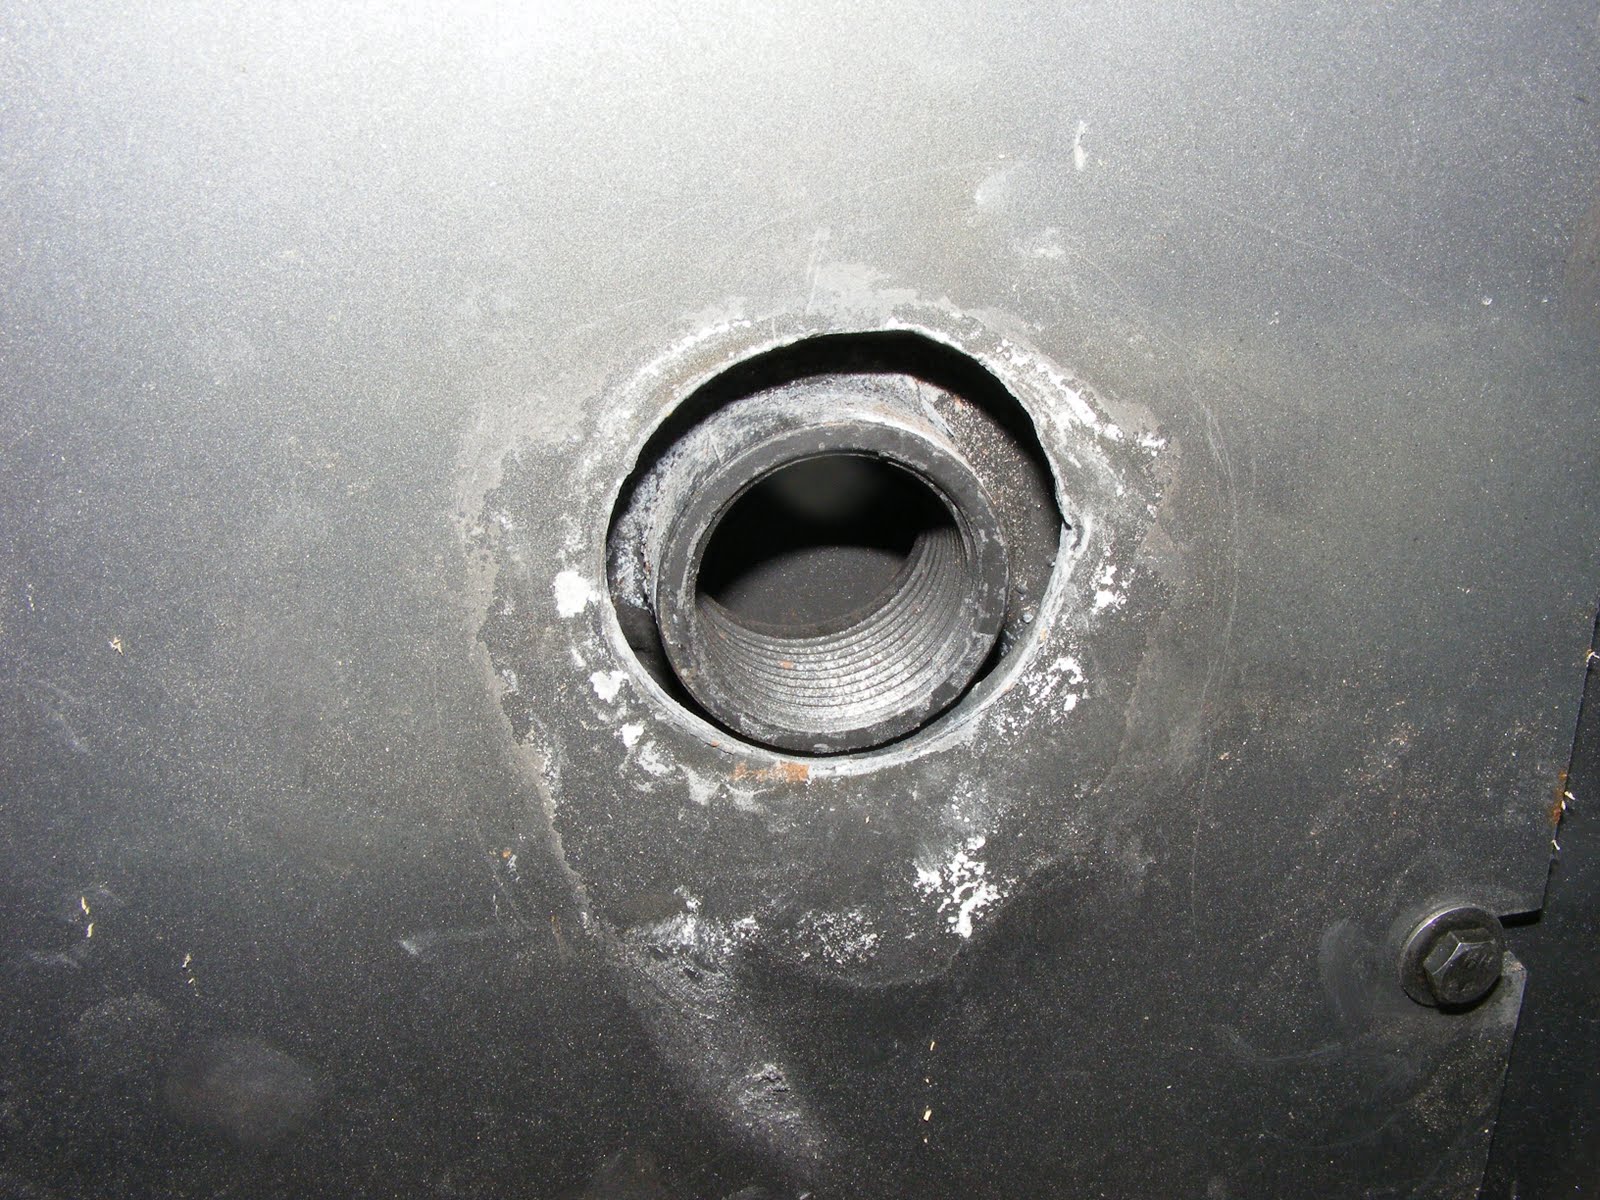
Step three
Chip away the fire cement from around the tappings

After which they should look like this
Step four
Next you can remove the centre 12mm nut and the 9off 10mm screws holding the side plate in position. Warning! the side plate is heavy so leave the bottom centre one till last to support the plate. After this is removed you can get a good look at the boiler.

Step five
Chip away any fire cement holding the boiler to the frame using a small chisel or sharp screwdriver (not your best one). The boiler will then lift out of the frame.
To do this you will need to have removed the grate bottom iron plates and the steel baffle. (note the baffle is the plate that forms the top of the fire box. Push is upward slightly at the back and then pull out the back fire brick. The baffle can then be lowered at the back and then pulled out. If you have difficulty pulling the rear fire brick out; screw a small wood screw into the vermiculite block and use the screw to grip the block)

And here she is

Step six
Make up some blanking plates to fill the holes in the inner plate left by the boiler tappings and centre bolt. I used 2mm steel plate and some bar to hold the plate central in the hole

Shown are the components for one plate (inner outer and centre spacer) That are then bolted together like a sandwich

And sealed with fire cement

Step seven
Having filled all the holes you can now replace the inner plate.

Then of course the outer plate.
Step eight
Having removed the boiler you will be short of a few fire bricks to fill the hole where the boiler was. These are easily obtained by ringing esse and ordering over the phone or on the webside. What you need is what they call a "full vermiculite set" Technically you only need 4 out of the set of 8 but they only sell then as a pack and at £48 quid they not outrageously expensive (they will even ship them to France for you).
When the set arrives you will need to do a bit of "fitting". Firstly to rebate to fire brick where the bolts for the blanking plates stick out. To do this place the bricks in place

Then give them a bit of a bash against the wall of the stove

Take them back out and the heat of the bolt will have left an imprint in the back of the fire brick

Which you can then drill a hole the depth of the nut using a wood drill by hand

Like this

The last thing to "fit" is to plane a bevel on the bottom edge of the three side bricks to clear the welds on the frame

Step Nine
Replace the fire bricks

and the steel baffle

And finally the back fire brick. The baffle hooks over the front and then pushes up to the top rear fire brick. The lower rear fire brick then pushes to the back of the stove and supports the rear of the baffle

Step 10
Refit the grate. In my case this a the wood only "Dutch Grate" option. This replaces the multi fuel grate supplied as standard.

Last but not least you can then stand back admire you work and light up your esse ironheart for a nice cup of tea!

Or even indulge in some mood lighting:


